LED-lit Model Display

A hexagonal, LED-lit display case for my Star Control II fleet — that doubles as storage for the board game pieces

In progress2026

A display case for a fleet of tiny spaceships. The project that, along the way, also turned into a board game.

Ships
26 hand-painted miniatures
Frame
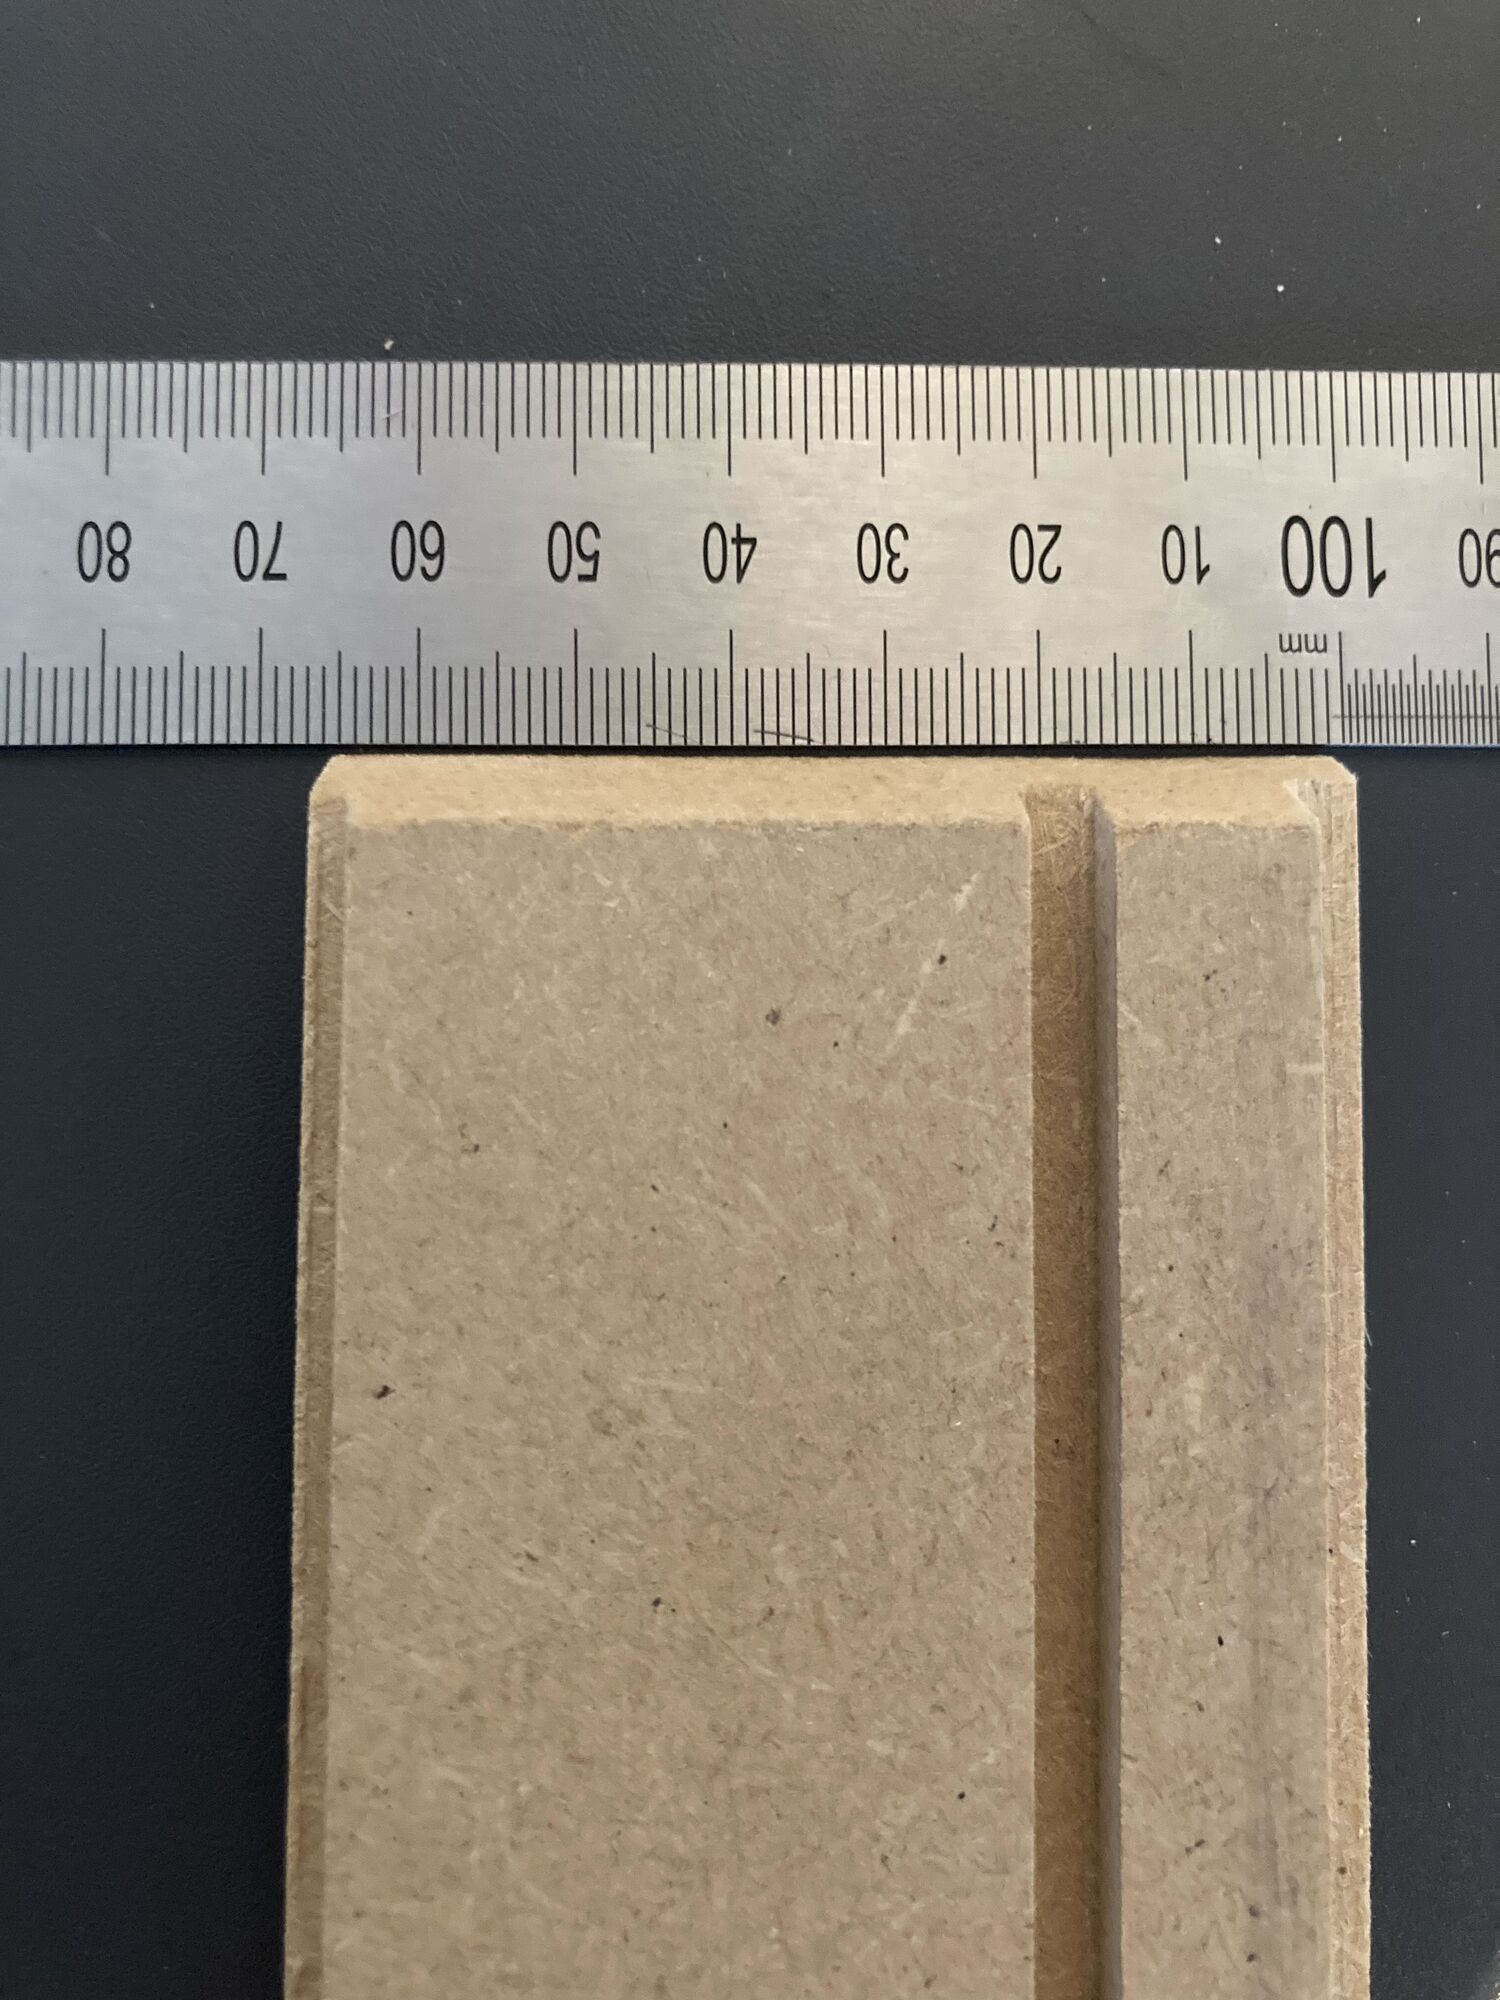
6 hand-sawn sides with precise grooves
Mounting
Acrylic pins + ring magnets
Lighting
Addressable LEDs, Arduino-controlled
Power
Slim power bank

The journey

05 chapters
CH 01 Spark

The Spark

After finishing the Sierra Trio I wanted to start a new retro-themed project. Star Control II is in my personal top 3 games, so I scoured the internet for STLs. There wasn’t a single place with all the ships, so I had to collect them from various sites. I had them printed, which was a challenge in itself because of the size and the number of models.
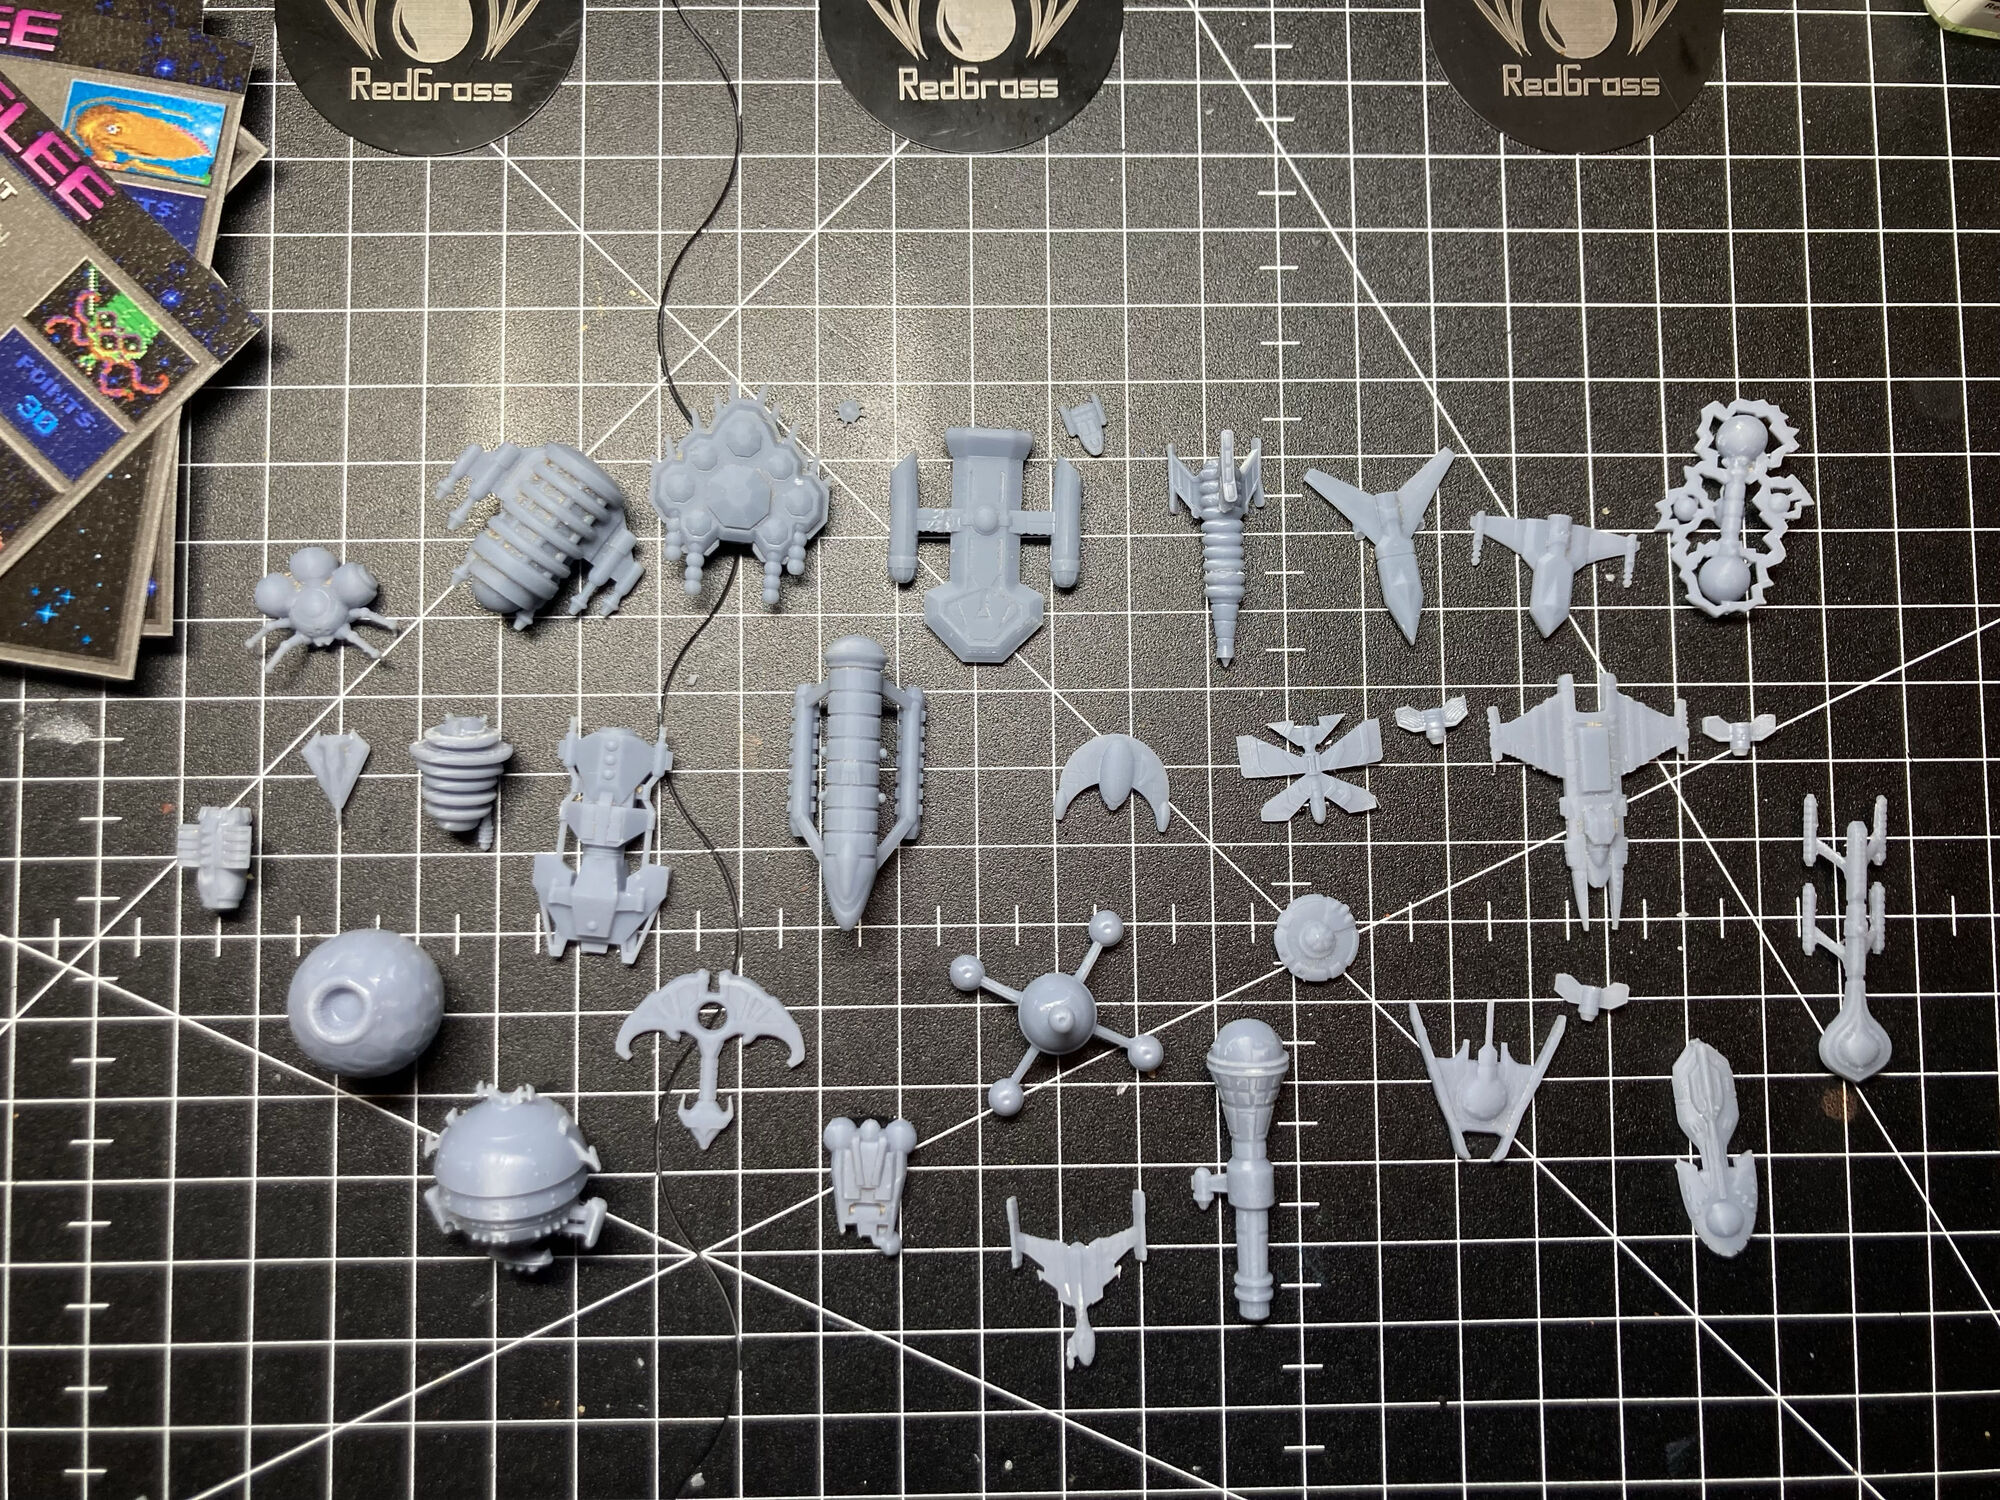
The whole fleet, fresh from the printer
CH 02 Click

The Click

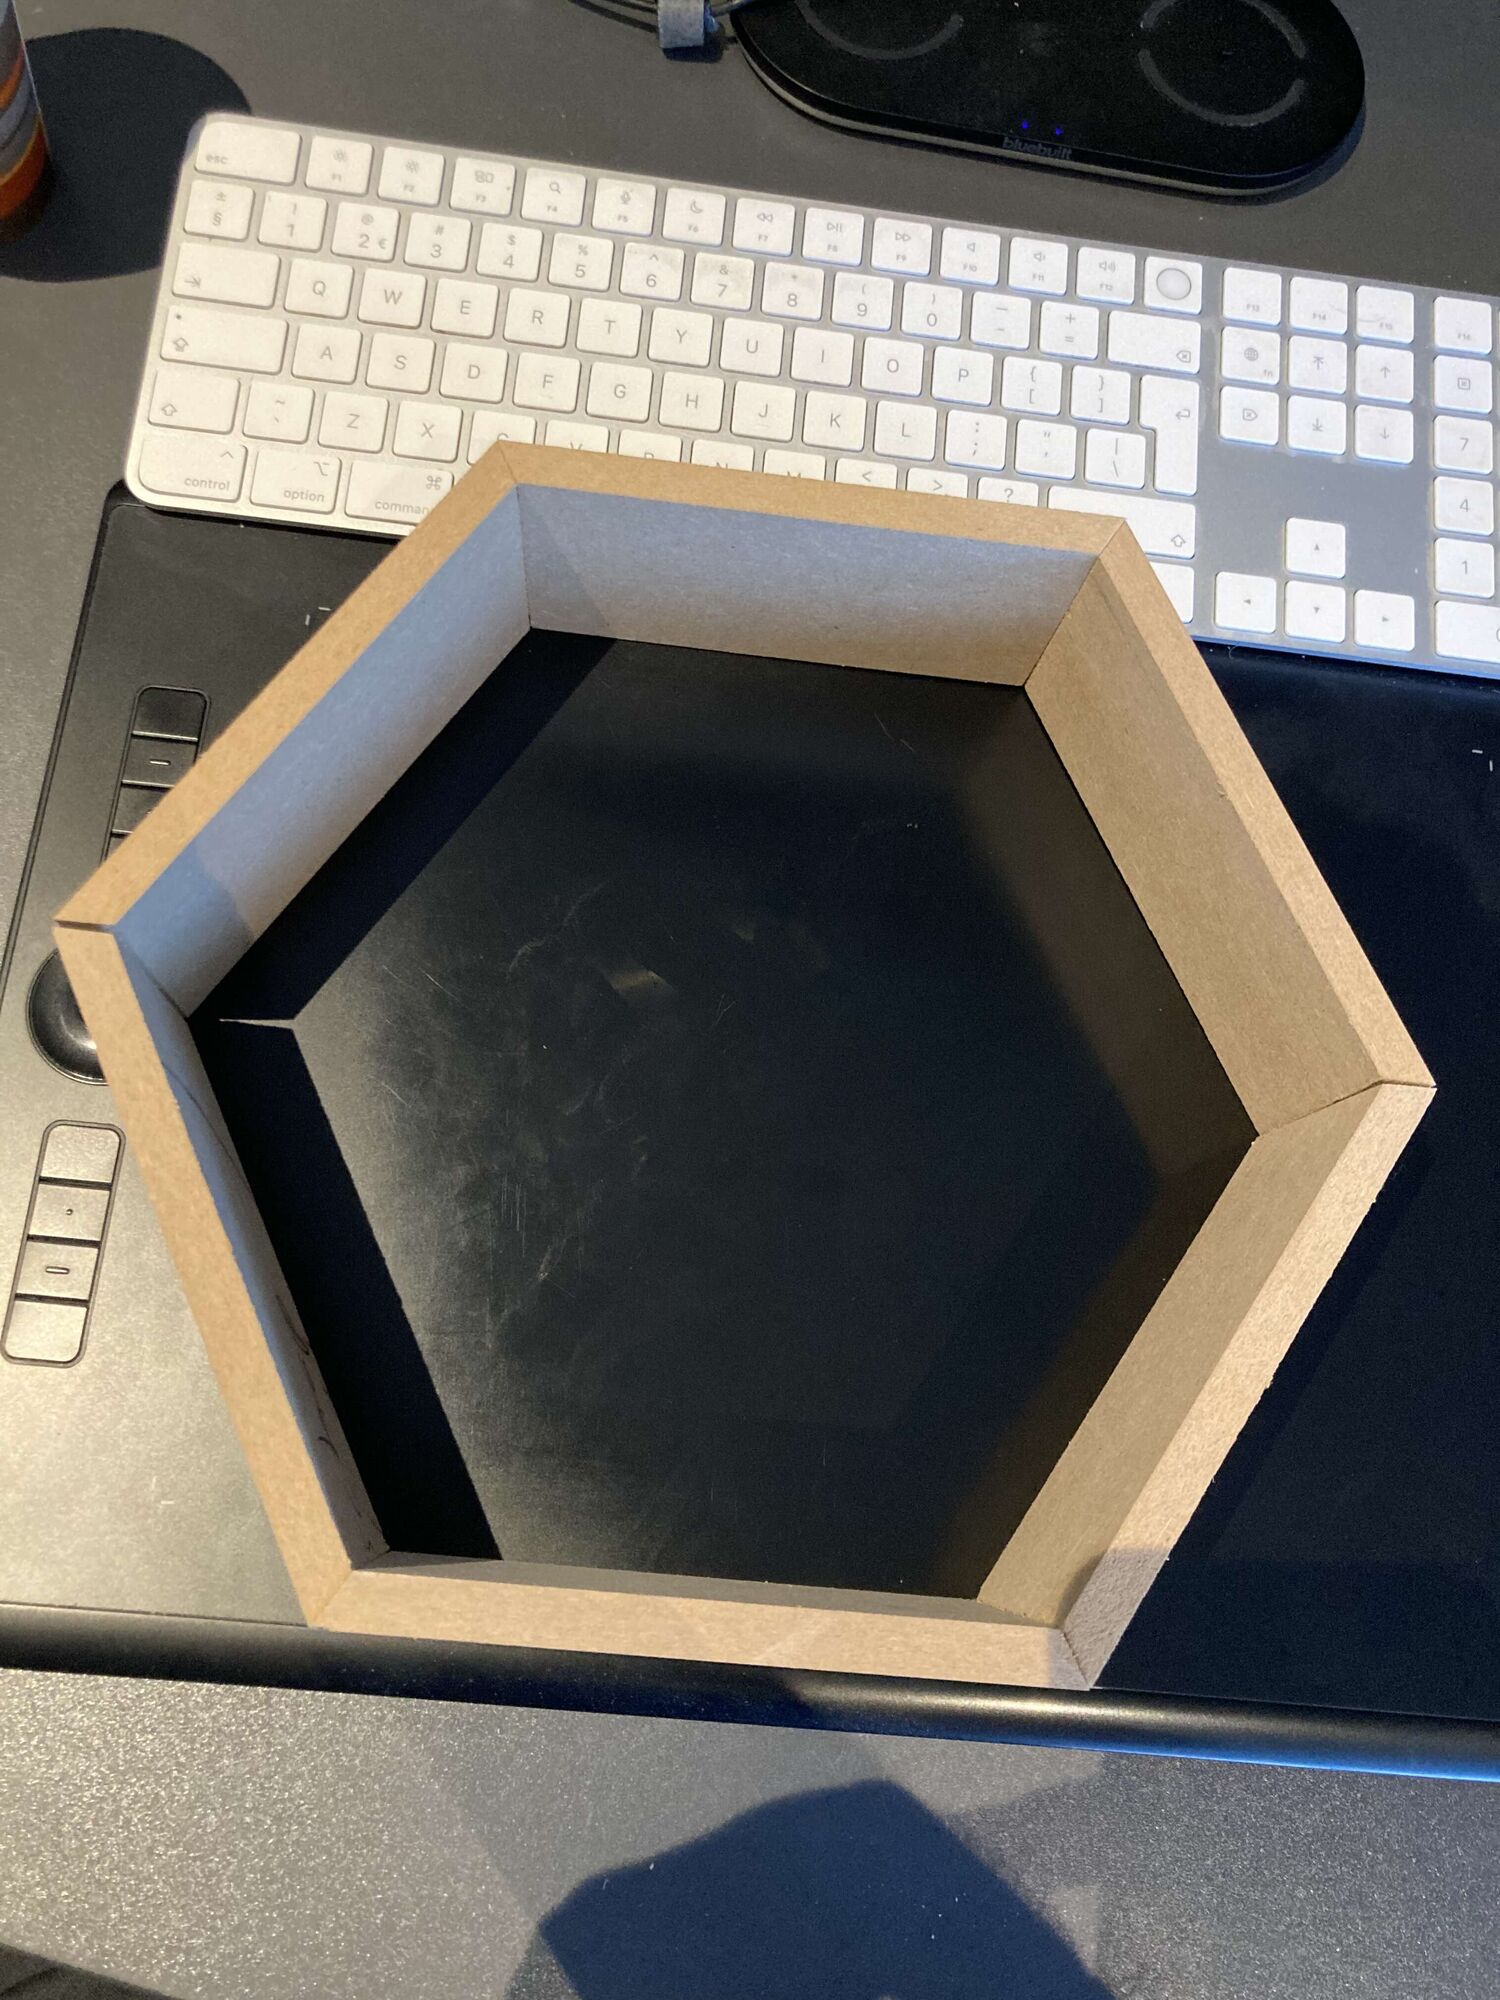
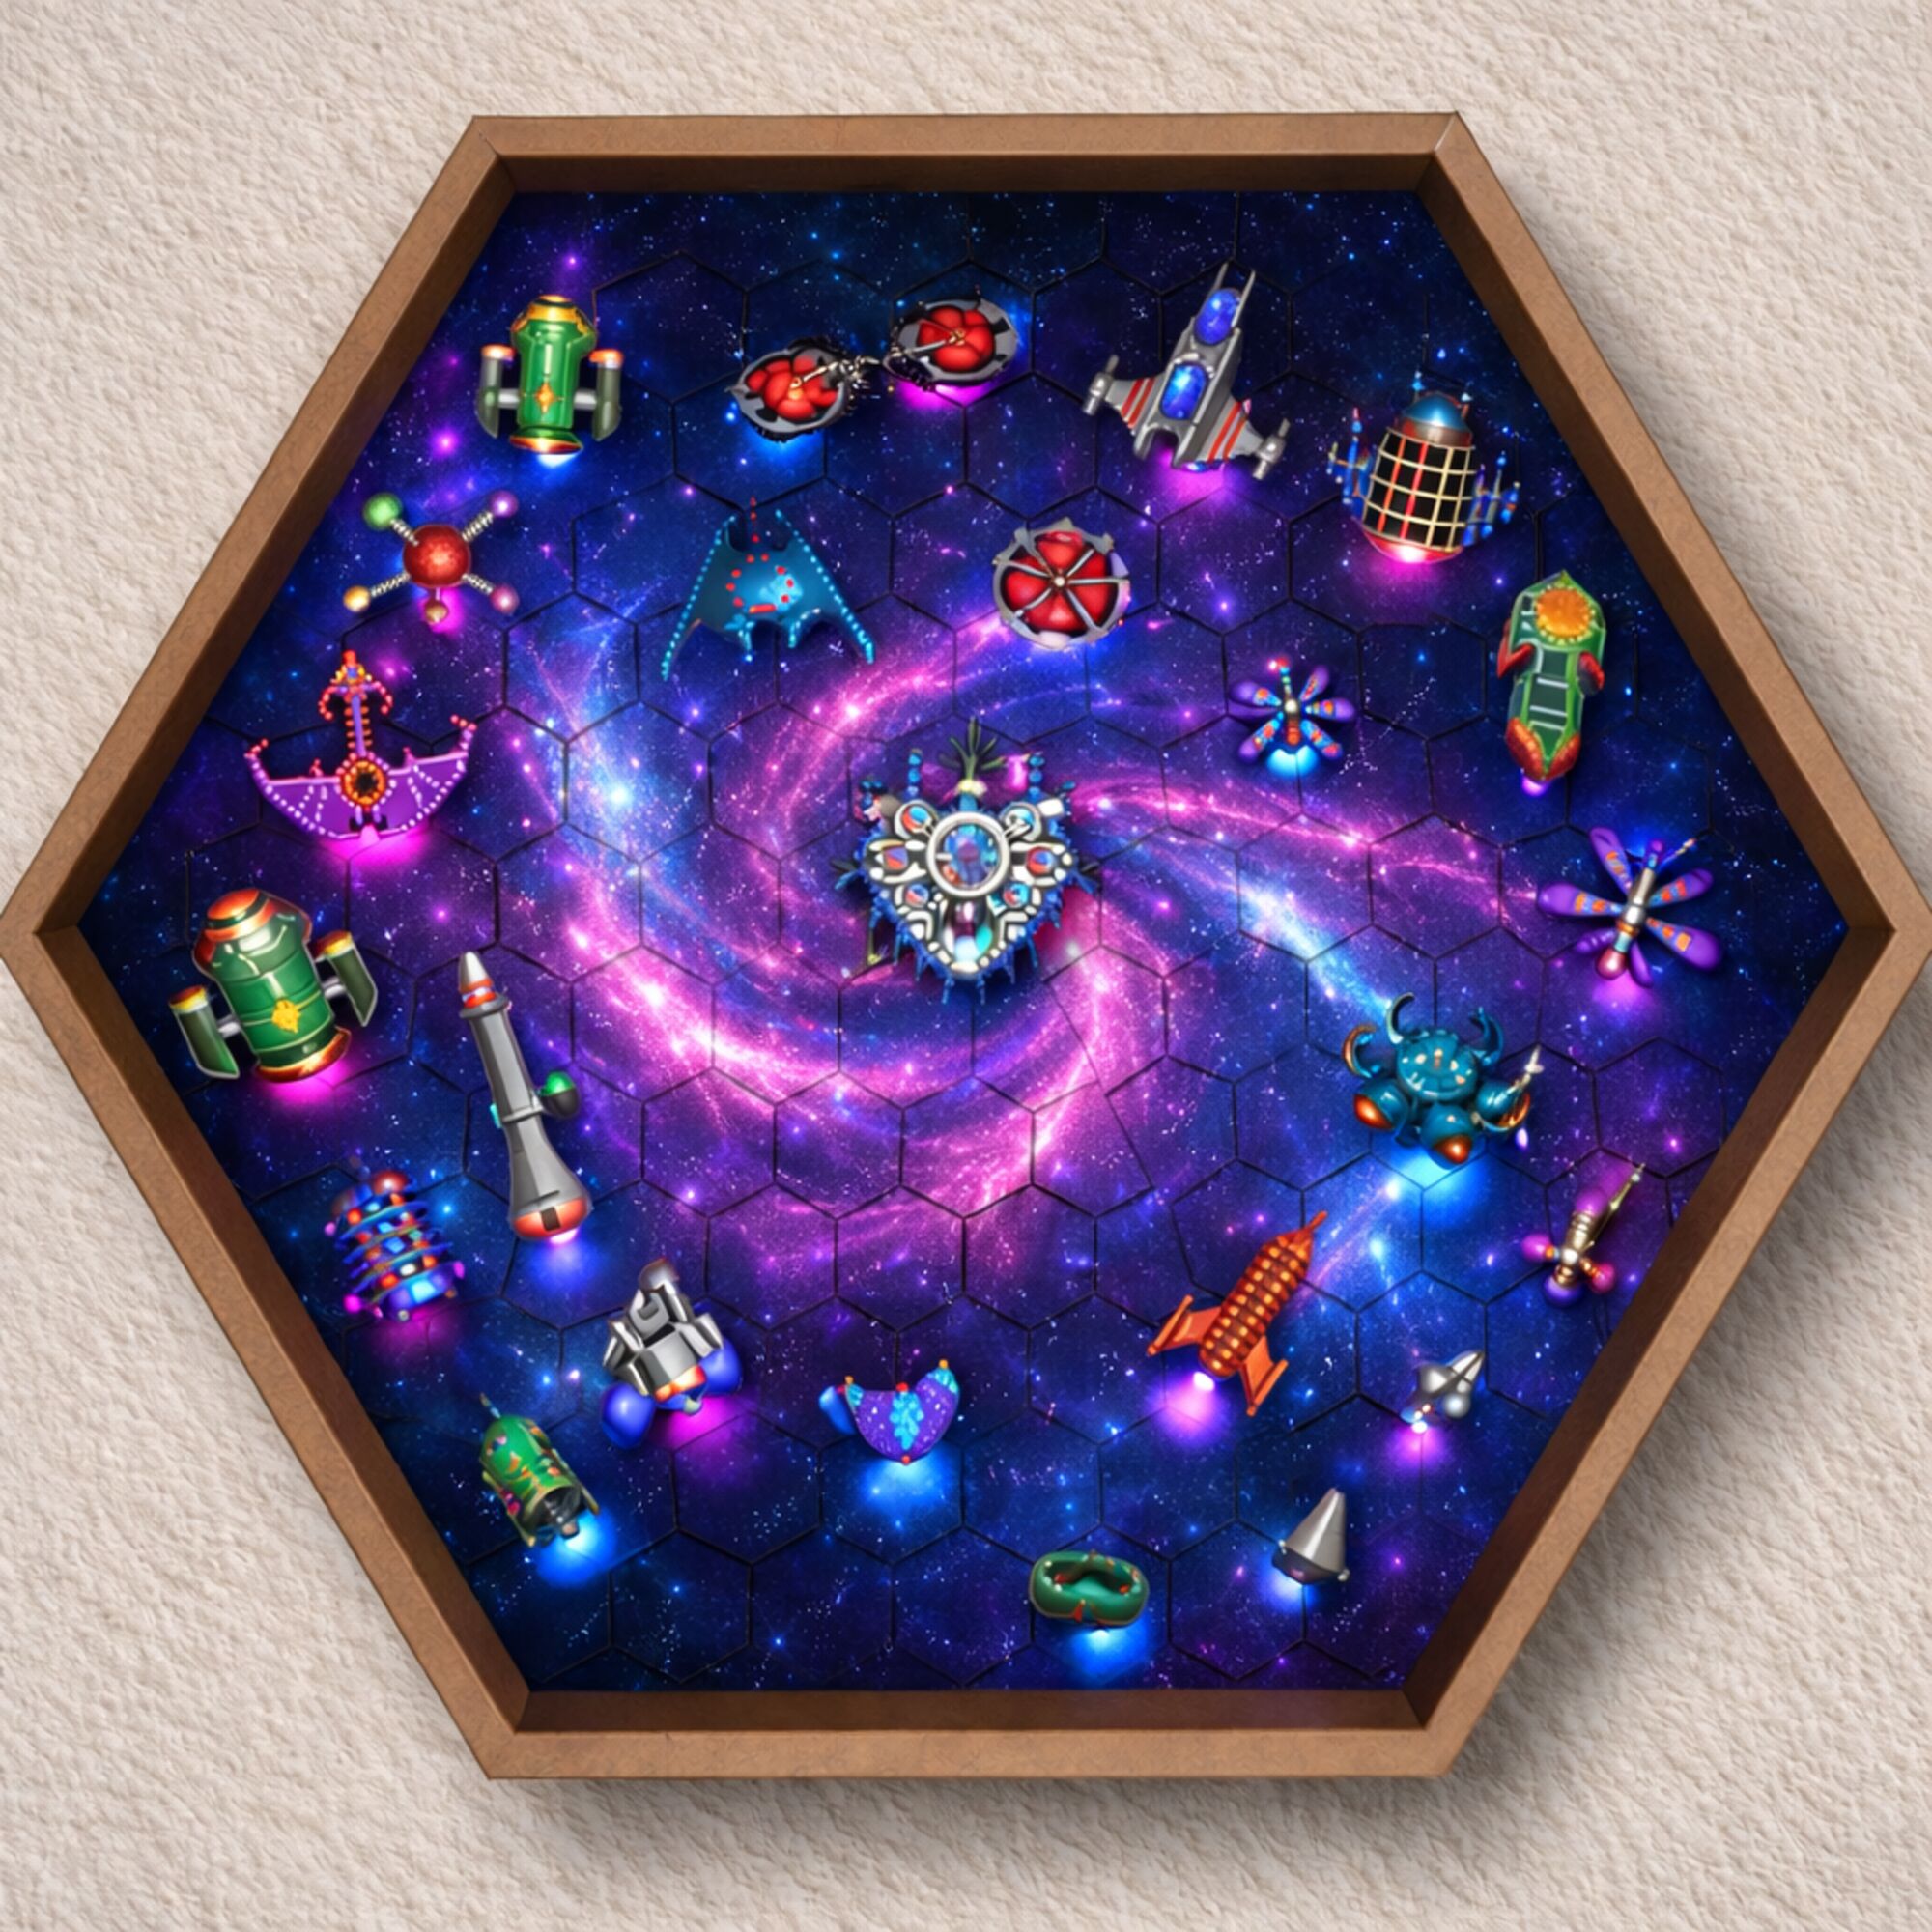
After I posted a picture of the printed models on Reddit, someone asked if these were for a board game. That wasn’t the case at first, but that comment got me thinking. My original plan was to put the models in an LED-lit hexagonal display. So I made a mockup, and I thought it would be cool to also be able to use the models as playing pieces.

The mockup
The mockup
CH 03 Design

The Design

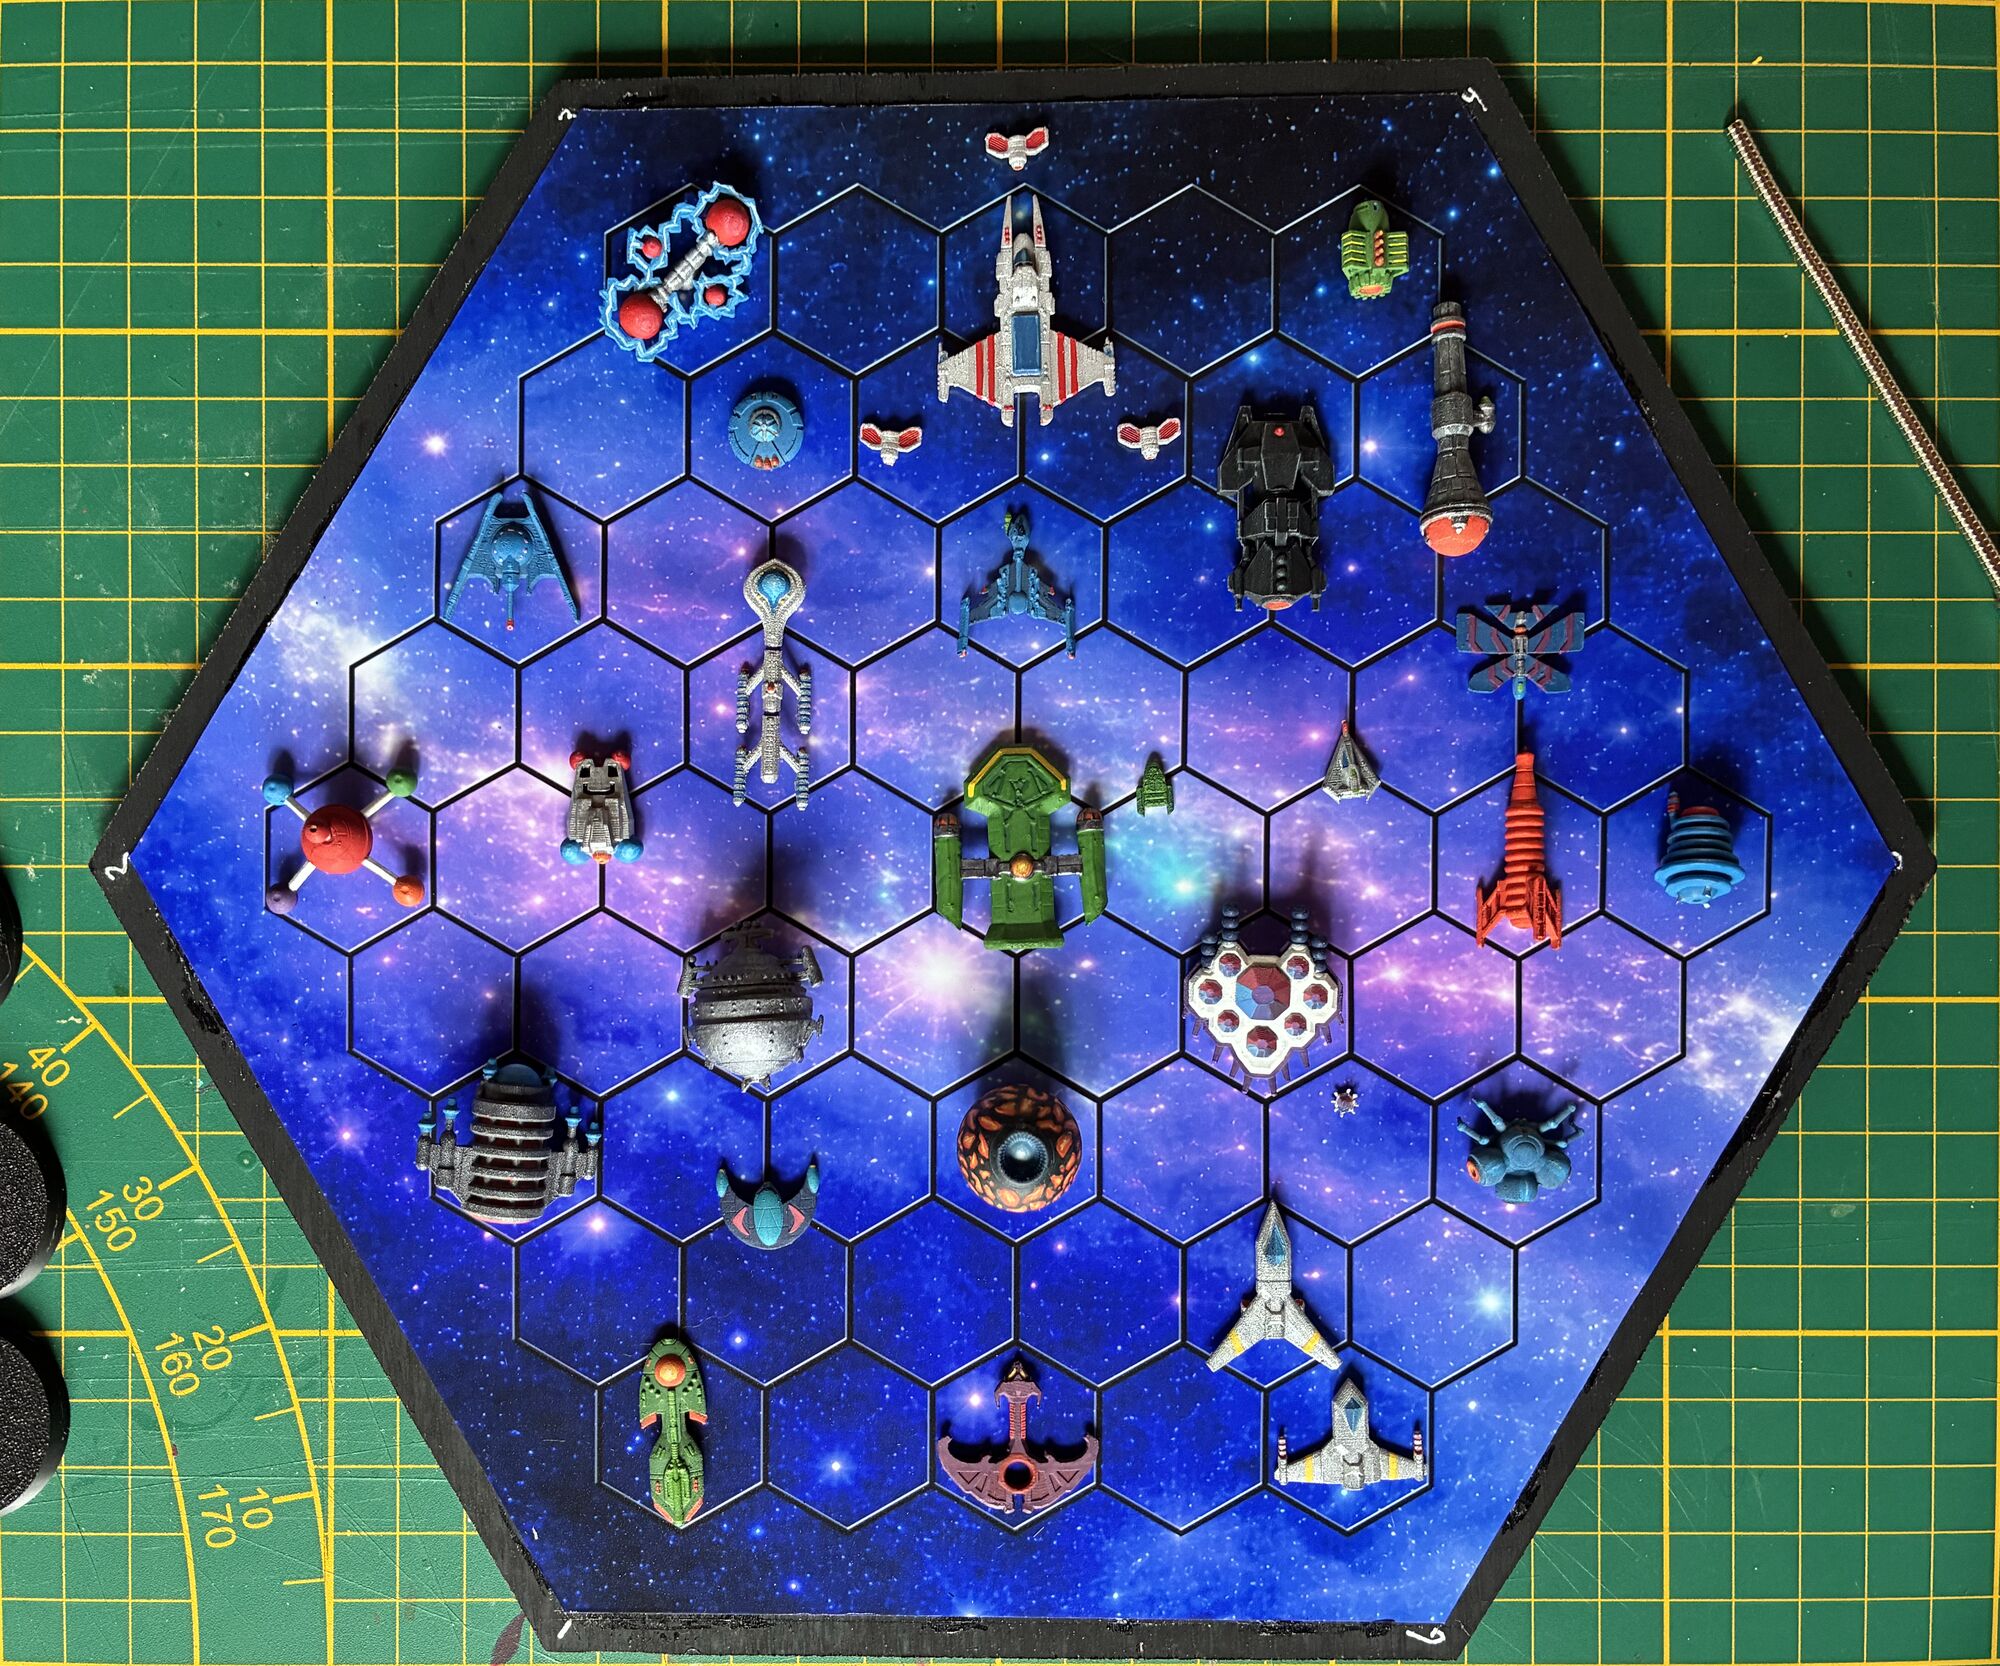
I always had hexagons in mind when thinking of this piece, so I designed a background that resembles a game board.

The background design
CH 04 Paint

The Paint

The models were so damn small, which required a lot of patience and precision. But I think I did well. I would maybe have liked a bit more shading and highlighting, but that would have been a risk. There are a lot of tricks and techniques I’m not experienced with yet, and I didn’t want to start over if I couldn’t pull it off.

The painted fleet, dry-fitted on the board
CH 05 Hex Jul 2026

The Hexagons

Luckily, at Lukkien we have lots of precision tools. So I sketched up a blueprint and sawed out 6 sides with very precise grooves. The idea was to put the models on transparent acrylic pins with little magnet rings on top, to let as much of the LED light through as possible. The LED lights would be glued to the back of the bottom plate and powered by the slimmest power bank I could find.